Hangar Documentation
Table of Contents
Quick Start
Installation of Hangar via Helm Chart.
Installation Requirements
- K8s-Cluster
- DNS
- Cert-manager
- Issuer to create valid TLS-Cerst
- Ingress
- (optional) CSI-Storage
- Image Registry
- optional:
- IAM Provider
- An OIDC provider with an OIDC Hangar client
- OIDC tokens must support the
profile,email, androlesscopes
- IAM Provider
Preparing the Hangar Images
The tarball contains the necessary Hangar images. These must be imported into an image registry beforehand.
docker image import  file - [REPOSITORY[:TAG]]
docker image import hangar-images/backend-config-service.tar   registry:5000/hangar/backend/config-service:10.25
docker image import hangar-images/backend-dashboard-service.tar registry:5000/hangar/backend/dashboard-service:10.25
docker image import hangar-images/backend-management-service.tar registry:5000/hangar/backend/management-service:10.25
docker image import hangar-images/backend-node-service.tar registry:5000/hangar/backend/node-service:10.25
docker image import hangar-images/backend-oidc-provider.tar registry:5000/hangar/backend/oidc-provider:10.25
docker image import hangar-images/frontend-ui.tar registry:5000/hangar/frontend/ui:10.25
Helm Installation
Hangar is installed via a Helm chart.
helm install hangar hangar-0.0.0-10-25.tgz -f hangar-values.yamlIn the values file, the following parameters must be set to perform a successful installation with authentication enabled.
The values file shown below installs a Keycloak instance as the IAM provider.
Important:
The Keycloak configuration is not production-ready and only serves to provide a simple IAM provider for testing purposes.
Ideally, Hangar should be integrated with an existing IAM provider.
global:
  hangarHost: "<URL-der Hangar Installtion>"
hangarSuperAdmins:
- hangar-super-admin@example.com # Mail Adressen der IAM Nutzer die SuperAdmin-Rechte in Hangar erhalten sollen

# Secrets
secrets:
  # base64 data of a client id
  oAuthClientID: ""
  # base64 data of client secret
  oAuthClientSecret: ""
ingress:
  className: "nginx"
  annotations:
    cert-manager.io/issuer: "<Issuer for TLS Certs>" # predefined Cert-Issuer
keycloak:
  enabled: true
  database:
    # place a secret in keycloak namespace with usernameKey and passwordKey data and set values.
    # this user will be used as keycloak database user
    existingSecret: keycloak-postgresql
  configCli:
    enabled: true
    # this will create a keycloak client for hangar with example users
    # Use only for testing
    createHangarClientConfig:
      enabled: true
  deployTheme: false
  ingress:
    enabled: true
    ingressClassName: nginx
    annotations:
      cert-manager.io/issuer: "<Issuer for TLS Certs>" # predefined Cert-Issuer
      # nginx.ingress.kubernetes.io/proxy-buffer-size: 128k
      # cert-manager.io/cluster-issuer: letsencrypt-prod
    # set host for keycloak if it is different from hangar uri
    # host: <keyclaok host uri if different from hangar host>
    httpRelativePath: "/_keycloak/"
    tls: true
Additionally, the image registry must also be specified:
frontend:
  image:
    repository: registry:5000/hangar/frontend/ui
    tag: "10.25"
oidcProvider:
    image:
    repository: registry:5000/hangar/backend/oidc-provider
    tag: "10.25"
dashboardService:
  image:
    repository: registry:5000/hangar/backend/dashboard-service
    tag: "10.25"
managementService:
  image:
    repository: registry:5000/hangar/backend/management-service
    tag: "10.25"
nodeService:
  image:
    repository: registry:5000/hangar/backend/node-service
    tag: "10.25"
configService:
  image:
    repository: registry:5000/hangar/backend/config-service
    tag: "10.25"
Alternative Installation without Authentication
Without Keycloak and an IAM provider, Hangar can be installed by setting the disabledAuth flag.
Important:
This disables authentication for the Hangar UI, making it publicly accessible.
helm install hangar hangar-0.0.0-10-25.tgz --set global.hangarHost="<URL-der Hangar Installtion>" --set disableAuth=trueThe Hangar UI can then be accessed via <URL-der Hangar Installtion>.
Configuration
IAM User Management – Keycloak
Users can be managed via the IAM Provider. For the bundled Keycloak you can open:
https:///<Hangar_Install_URL>/_keycloak/admin/master/console/#/hangar/users
By default, the Helm chart deploys the following users:
hangar-super-admin@example.com : change-super-admin-passwordhangar-cluster-admin@example.com : change-cluster-admin-passwordhangar-cluster-user@example.com : change-cluster-user-password
Important:
After installation, change the passwords for these users in the Keycloak UI!
Hangar – User Roles
Hangar Super Admin
The Hangar Super Admins are configured via the Helm chart. Under the following key, an array of Super Admin users is defined:
hangarSuperAdmins:
- hangar-super-admin@example.com
Super Admins have the permission to create new clusters and configure the infrastructure cluster.
Hangar Cluster Admin
Hangar Cluster Admins are configured through the cluster settings in the Hangar UI.
They can manage their respective clusters and add compute resources.
Hangar Cluster User
Hangar Cluster Users are also configured through the cluster settings in the Hangar UI.
Users can view their assigned clusters and download a
Hangar – Infrastructure Cluster
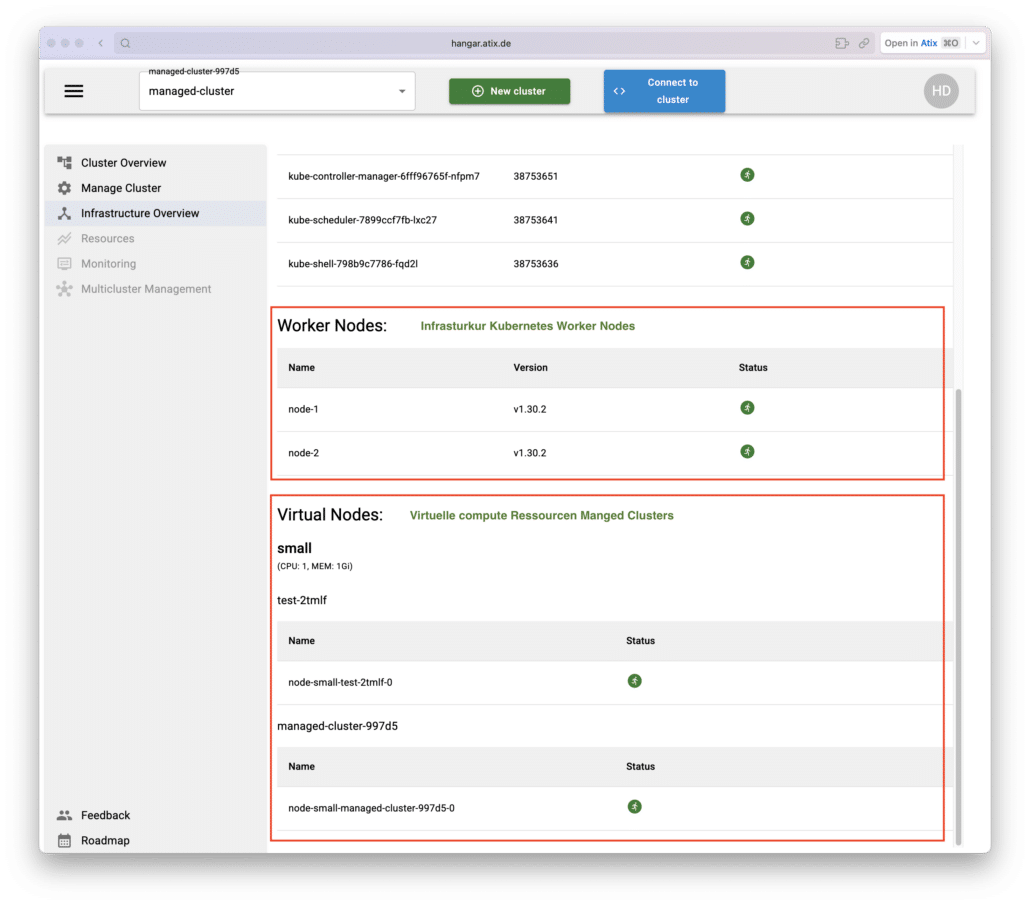
After installation, Hangar starts an infrastructure cluster, which manages and provides virtual compute resources to the managed clusters that can be easily added.
Kubernetes worker nodes are connected to the infrastructure cluster, and these nodes supply the virtual compute resources for the managed clusters.
Infrastructure Cluster Overview
As a Hangar Super Admin, you can access the overview page of the infrastructure cluster and see which managed clusters are connected to these virtual nodes.
Connecting Worker Nodes
To provide virtual compute resources, kubernetes worker nodes must be connected to the infrastructure cluster.
For this, the Ansible playbook included in the tarball should be used.
Beforehand, information about the infrastructure cluster must be retrieved from the Hangar installation.
kubectl describe namespace --selector=hangar.atix.de/is-infrastructure=true

Name:         default-infrastructure-cluster-btqc6
Labels:       app.kubernetes.io/managed-by=hangar
              app.kubernetes.io/part-of=k8s-control-plane
              hangar.atix.de/is-infrastructure=true
              hangar.atix.de/k8s-version=1.32.9
              kubernetes.io/metadata.name=default-infrastructure-cluster-btqc6
Annotations:  hangar.atix.de/control-plane-node-port: 31676
              hangar.atix.de/konnectivity-proxy-node-port: 32140
Status:       Active

No resource quota.

No LimitRange resource.
These details must be added to the Ansible inventory.
all:
  vars:
    hangar_subcluster_namespace: "default-infrastructure-cluster-btqc6" #  kubernetes.io/metadata.name aus dem Namespace
    kubernetes_worker_pod_cidr: "10.32.0.0/17"
    kubernetes_worker_version: "1.32.9"
    kubernetes_api_server_endpoint: "https://<Hangar Installations URL>:31676" # hangar.atix.de/control-plane-node-port aus dem Namespace
    kubernetes_worker_konnectivity_server_ip: "<Hangar Installations URL>"
    kubernetes_worker_konnectivity_server_port: "32140" # hangar.atix.de/konnectivity-proxy-node-port aus dem Namespace
  hosts:
    <definition der hinzuzufügenden Kubernetes Worker Nodes>
Under the hosts:: key, the worker nodes are listed.
all:
  vars:
    <siehe oben>
  hosts:
    node-1:
      ansible_host: <IP der node>
      ansible_user: root
      kubernetes_worker_node_name: "node-1" # name im Infrastruktur Cluster
      kubernetes_worker_local_pod_cidr: "10.32.0.0/24" # Pod CDIR für diese Node
    node-2:
      ansible_host: <IP der node>
      ansible_user: root
      kubernetes_worker_node_name: "node-2" # name im Infrastruktur Cluster
      kubernetes_worker_local_pod_cidr: "10.32.1.0/24" # Pod CDIR für diese Node
Any number of nodes can be listed and connected. Node names can be freely chosen, but a sequential numbering is recommended. For the Pod CIDR, the third octet must be incremented, and each worker node requires its own non-overlapping network.
Running the playbook will add the nodes to the infrastructure cluster.
It is important that
export KUBECONFIG=~/.kube/config
kubectl get pods -n hangar
NAME                                         READY   STATUS      RESTARTS
hangar-config-service-68b8878-tvtgk          1/1     Running     0
hangar-dashboard-service-77b9dfc5d6-4jdv4    1/1     Running     0
hangar-documentation-6d6d559b6b-jk2g8        1/1     Running     0
hangar-frontend-5f66844984-brpnp             1/1     Running     0
hangar-keycloak-7466b8895d-lf742             1/1     Running     0
hangar-keycloak-postgres-6cb5879cb5-2vncc    1/1     Running     0
hangar-management-service-7ccb94bdbb-jlcs2   1/1     Running     0
hangar-node-service-76b7c664d8-qwd4t         1/1     Running     0
hangar-oidc-provider-6fbd48cdc9-8f782        1/1     Running     0
robots-deployment-6cf9654ddb-sssfn           1/1     Running     0
The playbook can then be executed from the playbook directory as follows.
ansible-playbook -i inventory.yaml playbook.yaml Managed Hangar Cluster
Cluster Management
Cluster Management as Hangar Super Admin.
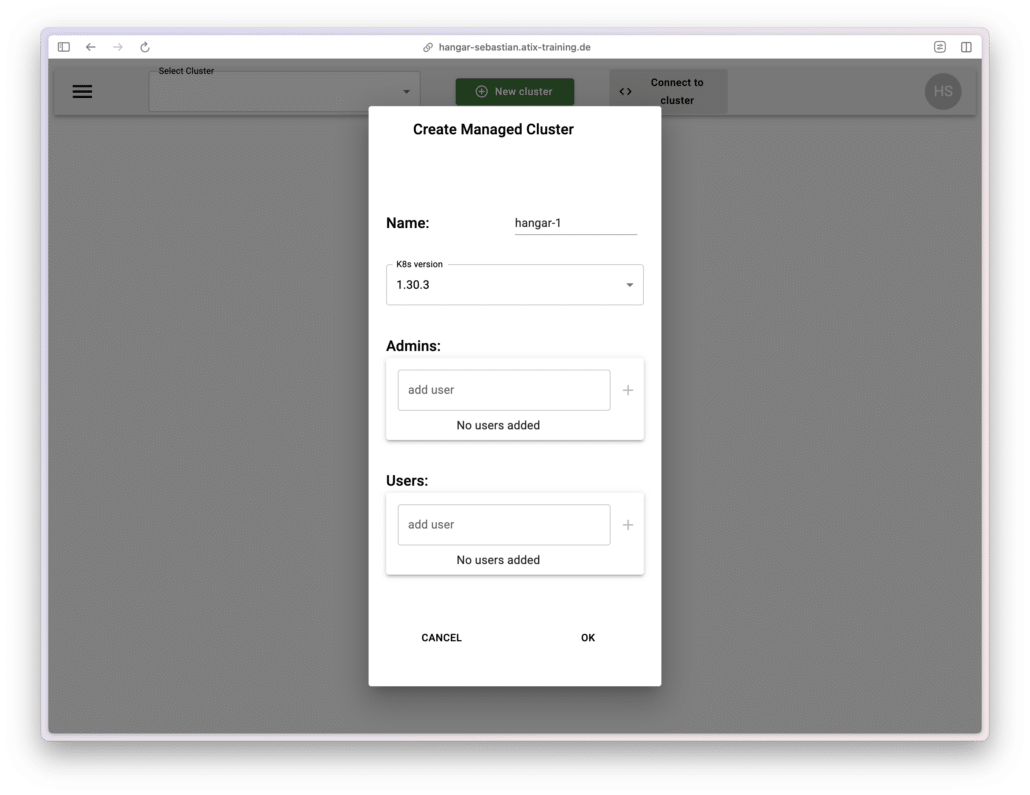
Creating a Cluster
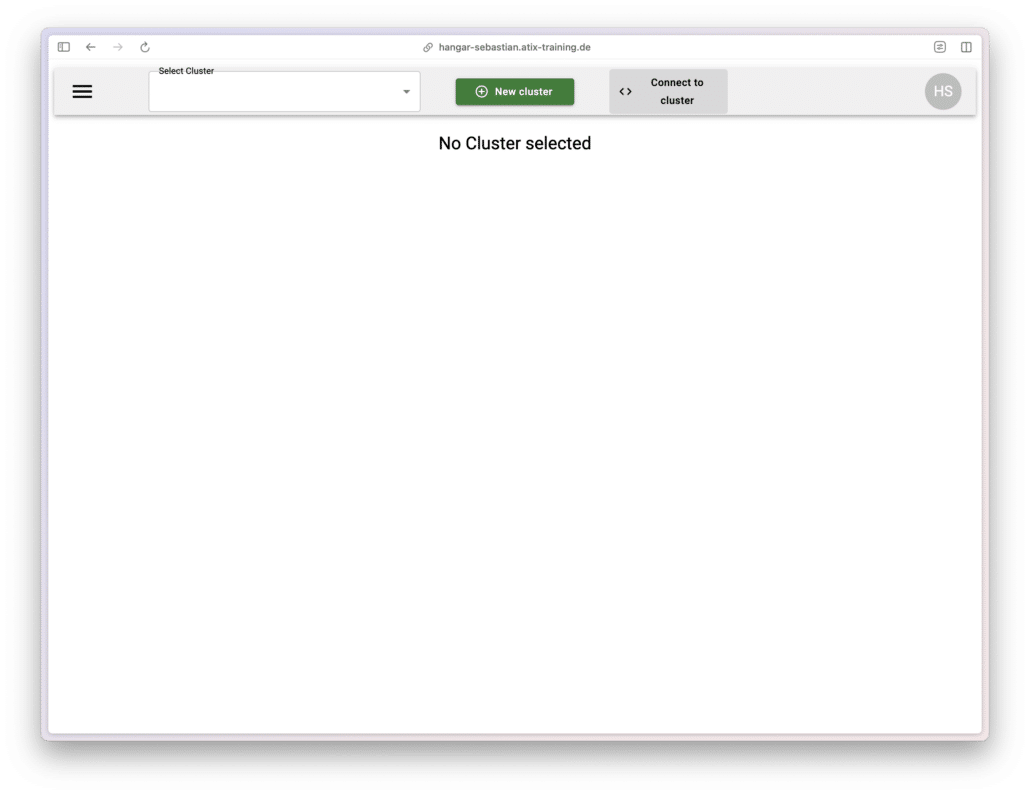
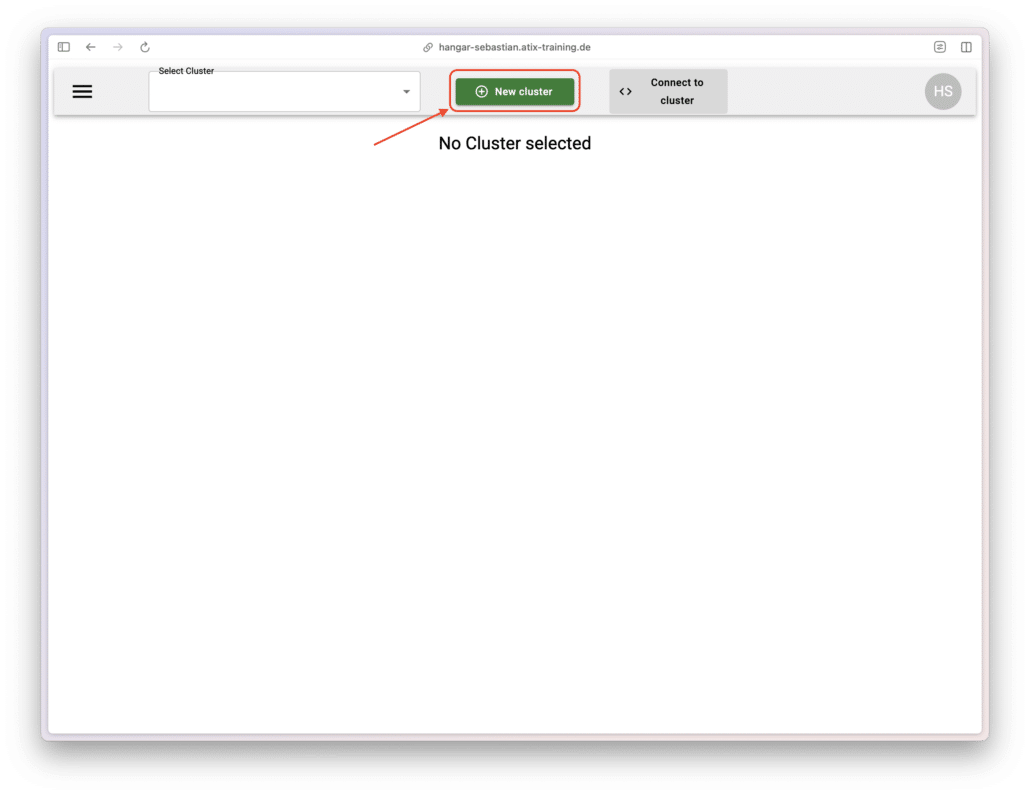
To create a managed cluster, simply click the “New Cluster” button.
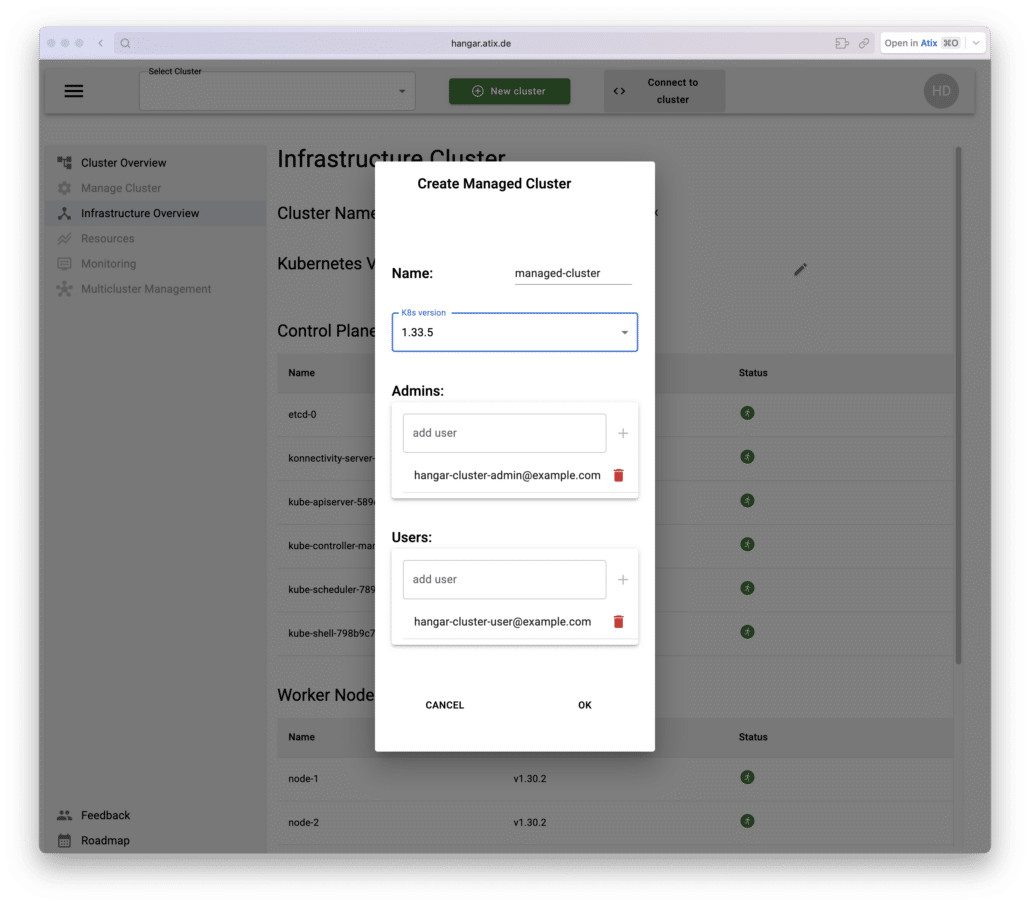
In the modal, provide a name for the cluster.
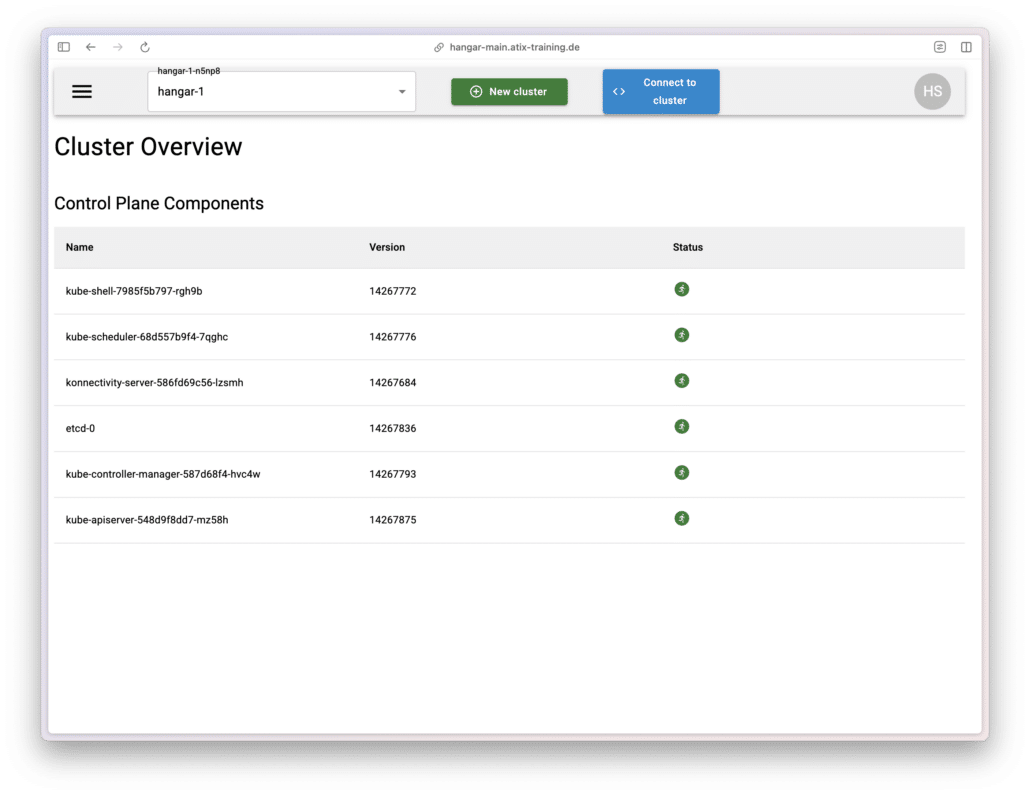
After creating the cluster, the Cluster Overview displays all control-plane components and their status.
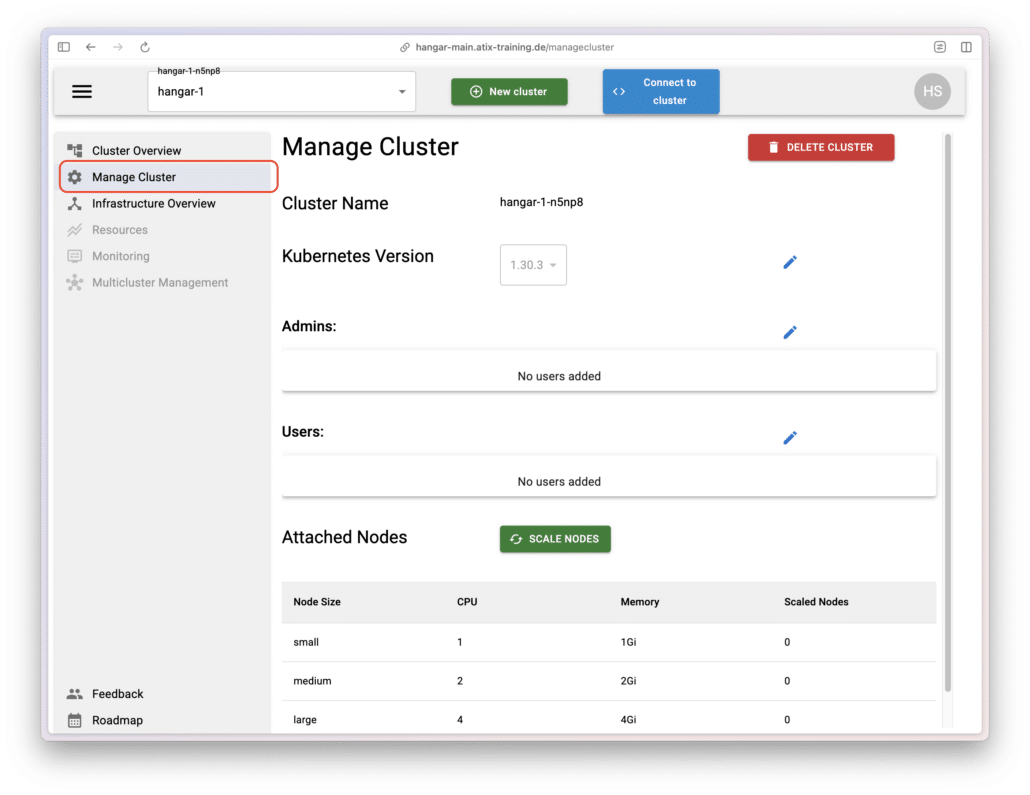
Cluster Config
Permissions for the managed clusters are managed through the Manage Clusters menu.
Here, you can also configure the Kubernetes version and the compute nodes for each cluster.
Cluster User Management
By clicking the edit (pencil) icon, you can add admins and users to the cluster.
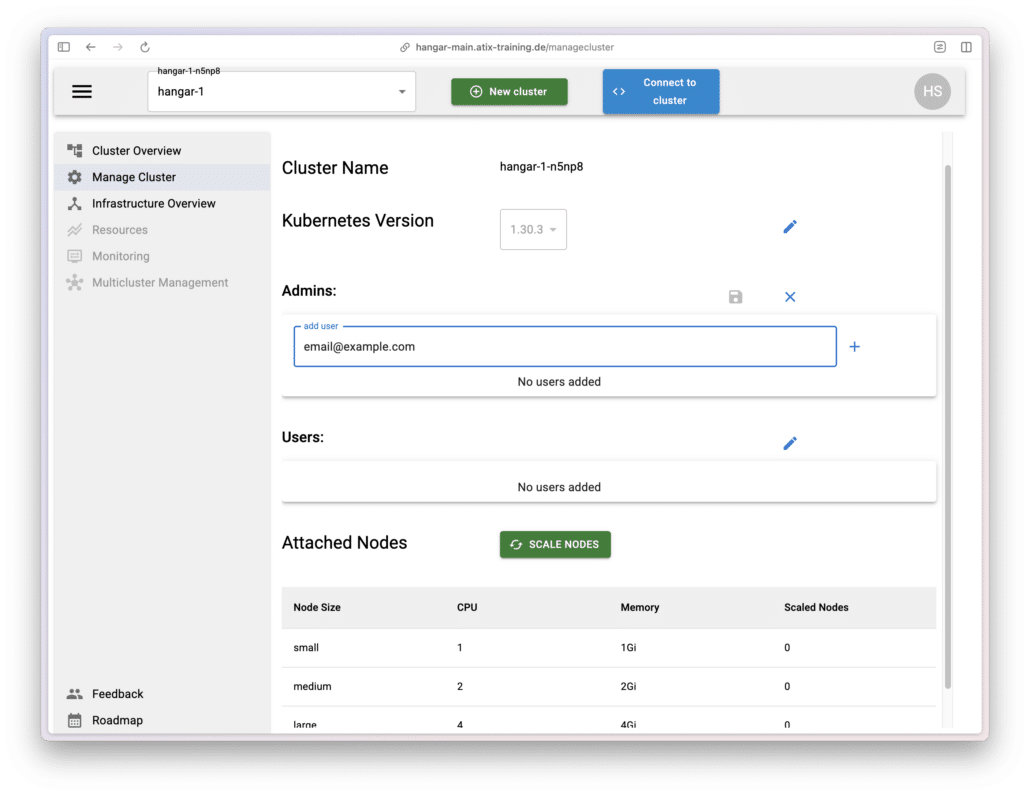
Users can view clusters in the Hangar UI.
Admins, in addition, can manage clusters, add or remove users, and manage compute nodes.
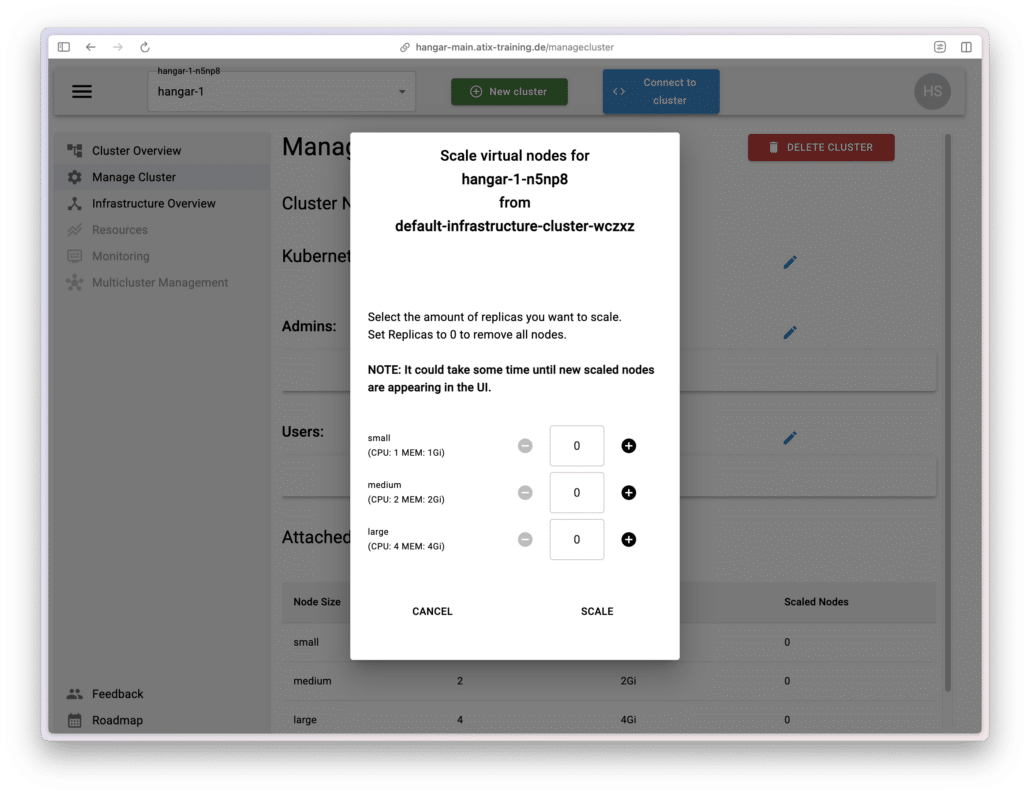
Connecting Cluster Worker Nodes
To run workloads and start pods, worker nodes must be connected to the managed cluster.
To do this, go to Manage Cluster and click on Scale Nodes. Than select the number of desired nodes.
Hangar will join the selected virtual nodes to the cluster, provided that the chosen infrastructure cluster has sufficient compute resources available.
Alternatively, you can also connect your own worker nodes using the standard Kubernetes tools.